
Christchurch Property Inspection Checklist
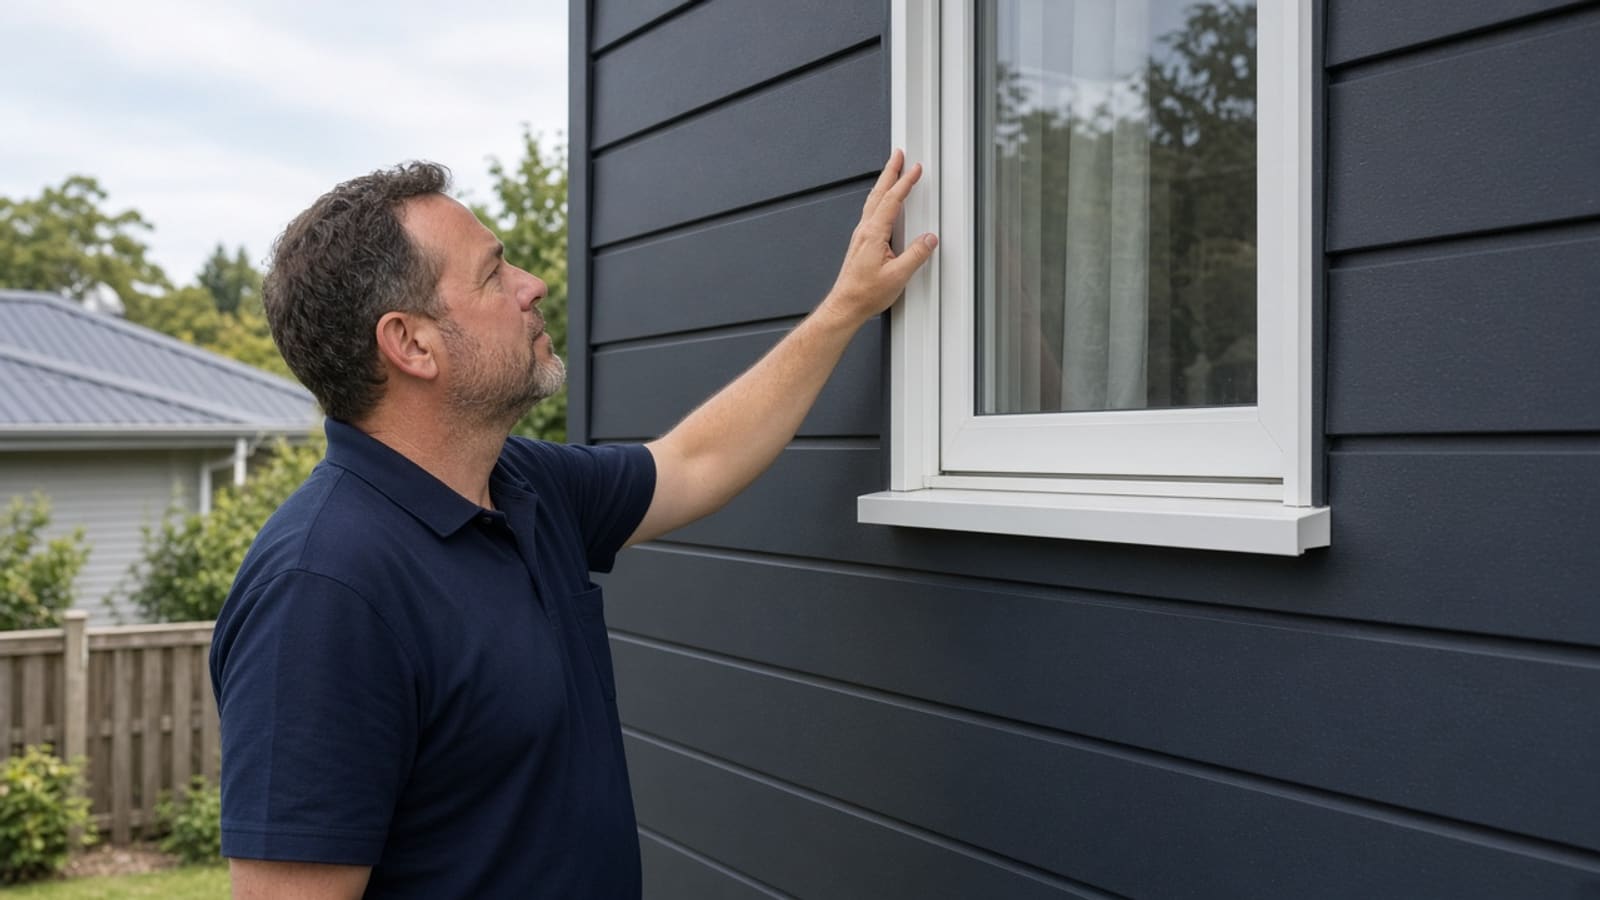
A Christchurch property inspection checklist is most useful before the pressure of an offer deadline, auction, settlement date or handover takes over. It gives you a practical way to look beyond fresh paint, tidy staging and a well-presented garden, and focus on the parts of a home that can affect cost, safety, maintenance and confidence in your next step.
A checklist cannot replace a professional inspection. Some areas are concealed, inaccessible or outside the scope of a visual assessment. It can, however, help you identify what to ask, compare properties more clearly and understand the findings in a detailed report.
Christchurch property inspection checklist: start outside
Begin at the boundary and work towards the house. Exterior conditions often provide the first clues about how water is managed, whether maintenance has been kept up and where further investigation may be needed.
Look at the site levels and drainage around the dwelling. Ground should not appear to direct surface water towards the building. Check for ponding, blocked channels, worn paths, overflowing gutters or downpipes that discharge too close to the foundations. In Canterbury, where weather can change quickly, effective roof-water management is not a cosmetic detail.
Then assess the visible condition of the roof, cladding, windows and exterior joinery. From ground level, note slipped or damaged roof coverings, corroded flashings, cracked cladding, failed sealant and staining beneath windows or eaves. A drone roof inspection can be valuable where roof areas cannot be safely viewed from the ground.
Pay attention to decks, steps, retaining walls, fences and outbuildings as well. These items may be excluded from assumptions buyers make about the main dwelling, yet they can create maintenance work or affect how you use the property. Ask whether any visible cracking, movement, rot or loose components have been monitored or repaired.
For Christchurch homes, it is also sensible to ask for clear information about any earthquake-related repairs, alterations or insurance work that is relevant to the property. The key is not to make assumptions from appearance alone. Keep records, invoices and prior reports together so they can be considered alongside what is visible during the inspection.
Check for moisture indicators, not just obvious leaks
Moisture is one of the most significant property risks because damage can develop behind linings, under floors or within poorly maintained exterior details. A room can feel dry during an open home and still show signs that deserve closer attention.
Inside, look for musty odours, peeling paint, swollen skirtings, staining on ceilings, soft flooring near wet areas and mould around window frames. Check corners, wardrobes, beneath sinks and behind furniture where possible. Condensation alone and an active leak are not the same thing, so context matters: ventilation, insulation, the condition of seals and the pattern of staining can all affect the likely cause.
Bathrooms, kitchens, laundries and shower areas should be checked carefully. Look at silicone seals, grout, cabinetry edges, flooring transitions and the ceiling below an upstairs bathroom. Any suspicious stain or swelling is worth raising with the inspector. A moisture investigation may be appropriate where visual signs or moisture readings indicate a more focused assessment is needed.
Work through the house room by room
A consistent route avoids overlooking the small details that can become expensive after settlement. Take photographs and brief notes, but do not let a long list of minor presentation issues distract from questions about building condition.
In each room, check the ceilings, walls, floors, windows, doors and visible joinery. Open and close windows and doors where permitted. Note sticking doors, cracked linings, uneven floors, damaged glass, failed window hardware and visible gaps around frames. A single minor defect may be ordinary wear; several related signs in one area may justify further questions.
When reviewing the living spaces, think about comfort as well as appearance. Is there evidence of adequate ventilation? Are there signs of dampness around windows? Does the layout make it easy to heat and use the home as intended? For a rental purchase, the condition report should help you distinguish immediate work from planned maintenance.
In the kitchen and laundry, inspect accessible cupboard interiors, benchtop edges and wall linings around splash zones. In bedrooms, look inside wardrobes and at exterior-facing corners. Storage spaces are often where early signs of moisture or poor ventilation are most visible.
Do not overlook the roof space and subfloor
Where safely accessible and within the inspection scope, the roof space and subfloor can provide useful evidence that is not visible from the living areas. These are not areas to enter casually. Access can be restricted by safety, clearance, stored items or building design.
In the roof space, an inspector may look for signs such as staining, moisture damage, insulation condition, ventilation issues and visible roof framing concerns. Below the floor, useful observations can include underfloor dampness, poor ground clearance, signs of leaks, timber condition and the state of accessible insulation.
These spaces illustrate why a professional report matters. A report prepared in line with NZS 4306 Residential Property Inspection Standards provides a structured assessment of accessible areas, supported by photographs and explanations that make the findings easier to act on.
Match the checklist to your property decision
The same building can require a different focus depending on why you are inspecting it. A first-home buyer needs clarity on likely repair priorities and whether the home suits their budget. An investor may be assessing maintenance exposure, tenant comfort and the condition of several units. A seller may want time to address known defects before buyers identify them under pressure.
For a pre-purchase inspection, record the issues that could affect your offer, conditions or repair allowance. Ask which findings are urgent, which are maintenance items and which need specialist advice before you proceed. Do not treat a report as a pass-or-fail scorecard. Most homes have defects, particularly older properties. What matters is the type of defect, the evidence available, the likely consequences of delay and your capacity to manage the work.
For a pre-sale inspection, use the findings to decide what to repair, disclose through the sales process or price into expectations. Fixing every minor item is not always the best approach. Straightforward maintenance can improve presentation, while larger issues may be better addressed with clear documentation and realistic advice.
For a new-build or handover inspection, concentrate on workmanship, finishing, visible damage, incomplete items, drainage and the operation of accessible components. A handover is easier when observations are documented clearly with photographs, rather than relying on a hurried walk-through and memory.
Questions to ask when reviewing inspection findings
The quality of the report is as important as the inspection itself. You should be able to understand the issue without needing a construction background. A useful report explains what was observed, where it was found, why it may matter and what practical next step is recommended.
Ask whether a concern is visible evidence of a current defect, a maintenance item or an area where further investigation is prudent. Ask what could happen if it is left unresolved, whether the area was accessible on the day and what limitations affected the assessment. This keeps decisions grounded in evidence rather than alarm.
Visual documentation is particularly useful when you are comparing properties, speaking with a vendor or planning work after settlement. Mainland Home Inspections provides detailed, plain English digital reports with photos and practical recommendations, generally delivered within approximately 24 hours, so findings can be reviewed while your decision timeline is still active.
Prepare before the inspector arrives
If you are arranging an inspection, make access easier wherever possible. Ensure the inspector can reach the roof space hatch, subfloor entry, meter areas and exterior walls. Move stored items away from access points, keep pets secure and provide relevant documents or known repair information if available.
For buyers, attend the inspection if you can. A short discussion on site can make the final report easier to interpret, especially when an issue needs to be viewed in context. If you cannot attend, write down your priorities in advance: a particular stain, a deck, a roof concern or uncertainty about previous repairs.
The most valuable outcome is not a property that appears perfect. It is a clear picture of the home you are considering, the risks you can see, the limits of what could be inspected and the work that may need planning. That clarity gives you a steadier basis for a high-value decision.
Also shared on our Google Business Profile.